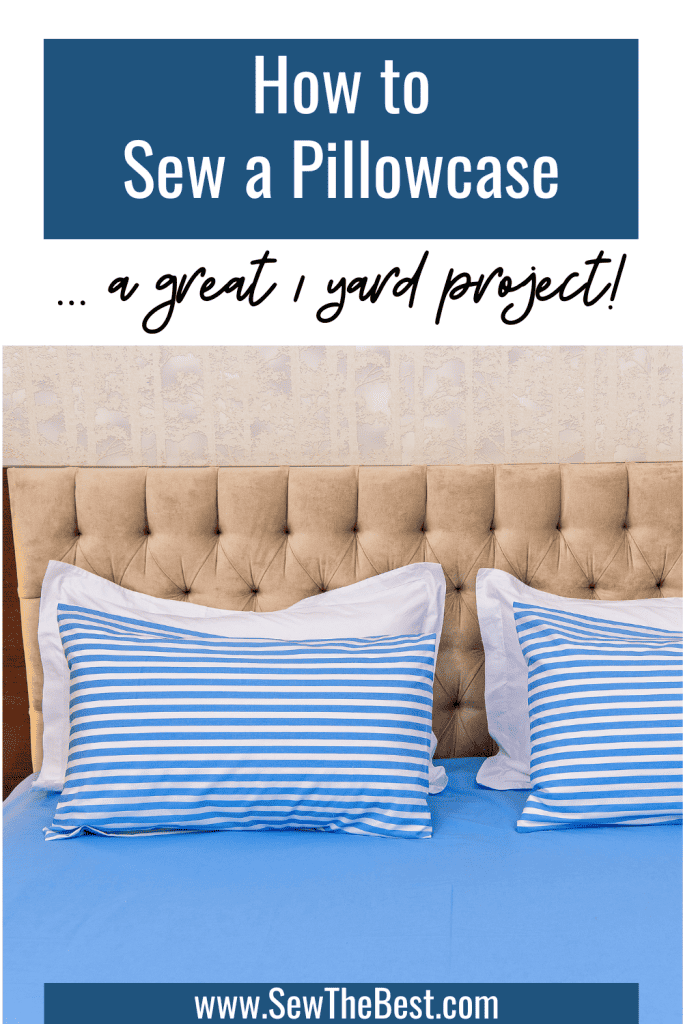
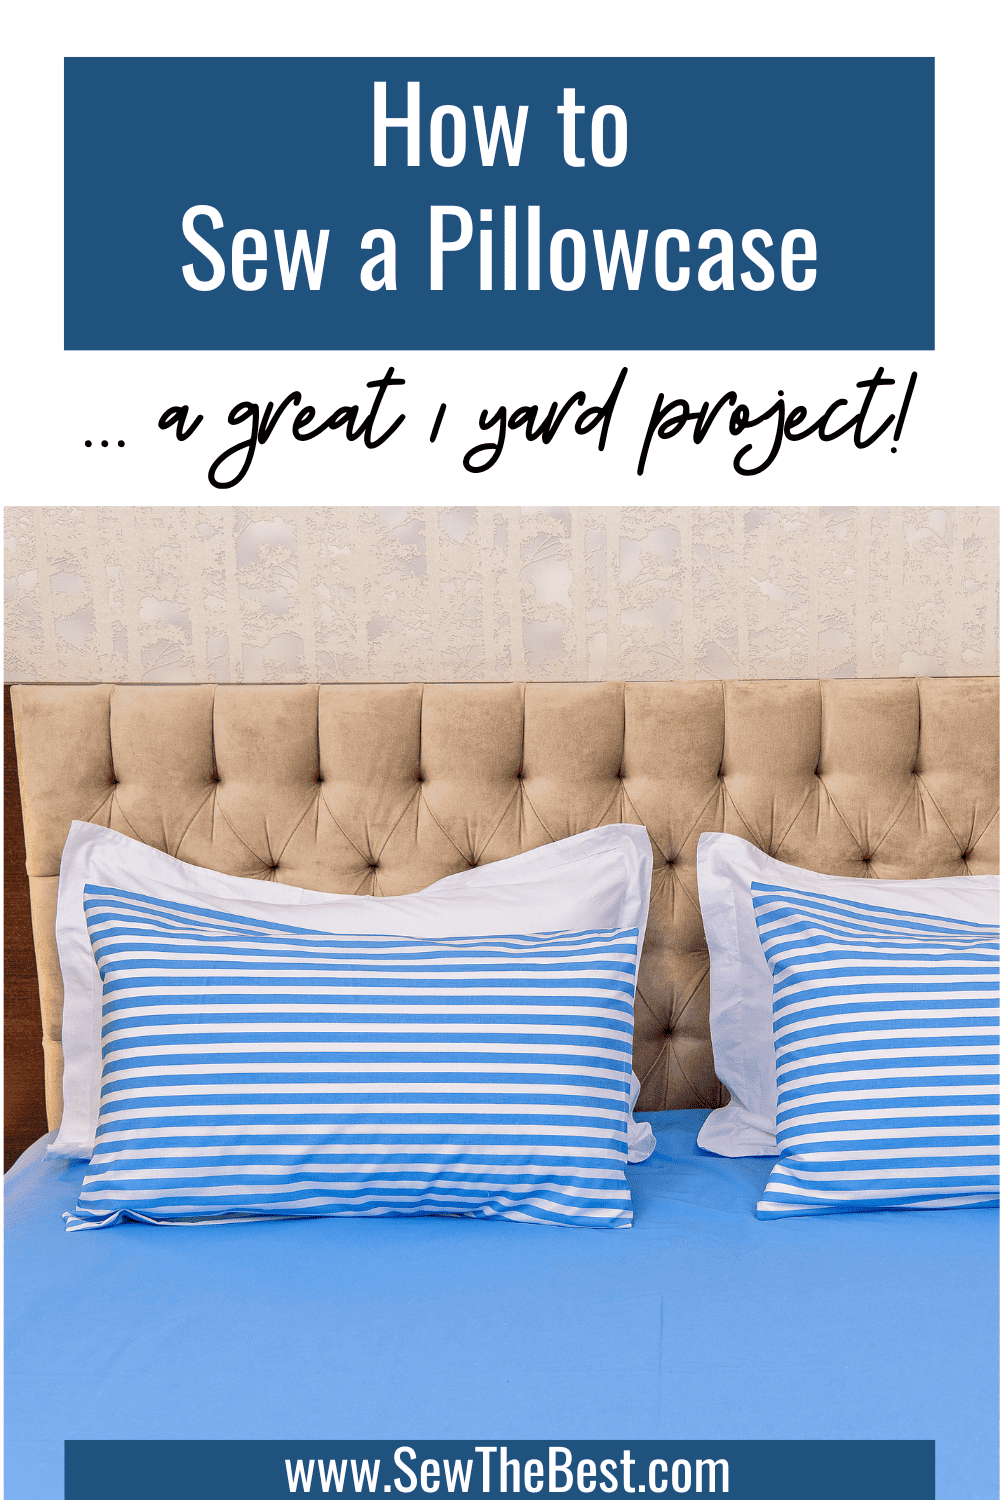
Sewing your own pillowcase allows you to personalize your bedroom with fabrics and patterns that reflect your unique taste. It’s a great beginner sewing project that offers a sense of accomplishment and allows you to infuse your personal touch into your space. In this blog post, we’ll guide you through the process of sewing a pillowcase, from selecting materials to finishing touches. Let’s embark on this creative sewing adventure and make a pillowcase that’s truly yours!

Sewing your own pillowcases is an ideal project for beginner sewers due to its focus on basic sewing techniques and straight sewing lines. This project allows you to practice fundamental skills such as measuring, cutting, pinning, and sewing straight seams. By mastering these essential techniques, you’ll build a solid foundation for future sewing projects. The straightforward nature of sewing a pillowcase also provides an opportunity to gain confidence in your sewing abilities as you witness tangible and satisfying results. As you progress through this project, you’ll develop a better understanding of fabric handling, seam allowances, and creating neat finishes. With each stitch, you’ll grow in skill and discover the joy of transforming simple fabric into a functional and beautiful item.
Materials
Gathering all the necessary materials in advance is an important step before starting any sewing project, including making a pillowcase. It ensures a smooth and uninterrupted sewing process, allowing you to focus on your project without delays. By having all the materials ready, you can easily measure and cut the fabric, choose the appropriate thread, and prepare your sewing tools. This preparation also helps you to avoid any last-minute trips to the store, saving time and ensuring that you have everything you need at your fingertips. So take a few moments to gather your materials beforehand, and you’ll be well-prepared to dive into your pillowcase sewing adventure.
A quick note on fabric choices before you get started. Pillows can see a lot of oils and grease and for pillows that see daily use it’s important to have a pillowcase that can be easily cleaned. If you want to make sure that your new pillowcase is machine washable, this is the time to consider that as you make your fabric selections. Also consider factors such as color, pattern, and texture. You wouldn’t want to use a rough fabric like burlap for something you are planning on putting your face on. For a cozy and comfortable feel, fabrics like cotton or flannel work well.
Sewing a pillowcase can be done either by hand or using a sewing machine, depending on your preference and available resources. Here are the materials you’ll need for each method:
For hand sewing a pillowcase, gather the following materials:
- Fabric: Choose a soft and durable fabric, such as cotton or flannel
- Thread: Select a thread color that complements or matches your fabric choice.
- Sewing Needles: Have a set of hand sewing needles, preferably in different sizes, to accommodate various stitching needs.
- Scissors: Sharp fabric scissors for cutting the fabric accurately.
- Pins: Use straight pins to secure the fabric in place while sewing.
- Measuring Tape or Ruler: Essential for measuring and marking the fabric accurately.
- Iron and Ironing Board: These will help in pressing and flattening the fabric for a neater finish.
For machine sewing a pillowcase, gather these materials:
- Fabric: Choose a suitable fabric for your pillowcase
- Thread: Select a thread color that matches or complements your fabric choice.
- Sewing Machine: Have a functional sewing machine in good working condition.
- Sewing Machine Needles: Ensure you have the appropriate needles for your fabric type.
- Scissors: Keep a pair of fabric scissors for cutting the fabric accurately.
- Pins: Use straight pins to secure the fabric while sewing.
- Measuring Tape or Ruler: Essential for measuring and marking the fabric accurately.
- Iron and Ironing Board: These will help in pressing the fabric for a polished look.
How much Fabric will you need?
How much fabric you need will depend on the size of the pillow you are making a pillowcase for, as well as how much of a “collar” you want on your pillowcase. For most standard size pillows, you will use 1 yard of fabric. In fact, this makes a great “1 yard of fabric” project! For King size pillows you would want at least 1 1/2 yard of fabric. For body pillows, you would want even more fabric at about 2 yards. Something to keep in mind when selecting your fabric size is how much your fabric will shrink when you wash it. I usually recommend getting at least 10% more fabric “just in case” for shrinkage.
Prepare your fabric
Begin by washing the fabric. This step is essential as it removes any sizing or and causes any shrinkage that might occur. Before washing, finish the fabric edges with a zigzag stitch or serging to prevent excessive fraying. After washing and drying, iron the fabric to remove wrinkles and create a smooth surface. Pressing the fabric not only helps with accurate measurements but also makes the sewing process easier. With your fabric clean and neatly pressed, you’re ready to move on to measuring and cutting.
Standard Pillow Sizes and Fabric Measurements
| Pillow Size | Pillow Measurements | Pillowcase Fabric Measurements – One Piece Per Pillowcase |
| Standard Size Pillow | 20in x 26in | 21″ + 1/2″ if hand sewing x 27″ + your collar size |
| Queen Size Pillow | 20in x 30in | 21″ + 1/2″ if hand sewing x 31″ + your collar size |
| King Size Pillow | 20in x 36in | 21″ + 1/2″ if hand sewing x 37″ + your collar size |
| Body Pillow | 20in x 54in | 21″ + 1/2″ if hand sewing x 55″ + your collar size |
Using a measuring tape or ruler, determine the desired size for your pillowcase. Pillows can vary in size, so we’ve included a handy chart below with typical pillow and pillowcase sizes. You can adjust the measurements to fit your pillow size. For a standard bed pillow case, you can cut one piece per pillowcase and fold it in half around the “width” of the pillow. Decorative pillows or pillowcases would be different depending on the pillow type.
To start, determine how wide of a decorative collar you want around your pillowcase opening. This is the wider piece of fabric around the opening of your pillowcase where the fabric overlaps to provide durability. Generally, these range from three to four inches. Also determine if you are hand sewing your pillowcase or machine sewing it. If you are hand sewing it, you would want to add 1″ to sides. Once you’ve determined your collar size you can mark the fabric accordingly, ensuring straight lines. So for a standard size pillow with a 3″ collar, you would want a piece of fabric that is 21″ x 30″. For a 4″ collar that would change to a 21″ x 31″ piece of fabric. If you are hand sewing your pillowcase, that would become 21.5″x 30″ or 21.5″x 31″. Then, use sharp fabric scissors to cut along the measured lines. Take your time and cut carefully to achieve even and neat seams. Once you’ve measured and cut your fabric, you’re now ready to proceed with sewing your pillowcase.
By properly preparing the fabric through washing, ironing, and precise cutting, you lay the groundwork for a high-quality pillowcase that will provide comfort and style to your bedding. Now that your fabric is prepped, it’s time to dive into the exciting process of sewing your own pillowcase.
Sewing your pillowcase
1. Start by hemming the open edges of the fabric. This will differ by what you have available and how you are sewing your fabric. If you are machine sewing, you can serge the raw edges or sew a zig-zag stitch over them. If you are hand sewing, you would want to fold over your edges by 1/2″ and press them, then fold them over again and press again. Use a whip stitch on the outer fold to secure it to your fabric and protect your fabric edges. This ensures any raw fabric edges are neatly encased in thread if you are machine sewing, or in fabric if you are hand sewing. This step is crucial to provide durability for your pillow, so don’t forget it!
2. Next, it’s time to sew the “opening” of the pillowcase. This is the side where you slide your pillow in. Most standard pillowcases have the opening sewn slightly differently, with a wider collar of fabric folded around the opening. This is to help reinforce the opening of the pillowcase, as well as to look pretty. Place the right side of your fabric down. On one of the 40″ wide sides, fold over your fabric by 1/4″ and press it. Then, fold your fabric again for whatever width you want the decorative collar to be and press it again. Pin the collar in place. Sew along the fold ( where the fabric is three layers thick ) to secure your decorative collar. This can be a backstitch or whip stitch if you are hand sewing, and should be a straight stitch if you are machine sewing.
3. Next, it’s time to sew the side seams. Fold the fabric in half lengthwise, right sides together, aligning the raw edges. Pin the sides together to keep them in place. For hand sewing, whip stitch the edges of your folds together along the pinned sides. For machine sewing, sew the pinned sides together about 1/4″ from the edges.
4. Finally, to finish up turn your pillowcase right side out, and press it one last time.
Summary
At this point, you should have a completed pillowcase – congratulations! Sewing your own pillowcase can be a great way to personalize your bed or some throw pillows. Plus you get the satisfaction of making something yourself. If you haven’t made a pillowcase yet, I’d encourage you to go ahead and give it a shot. The step-by-step process outlined in this blog post will guide you through each stage, from selecting the fabric to sewing the seams, allowing you to create a pillowcase that reflects your individuality.
So, gather your materials, set up your sewing space, and let your creativity soar. Discover the joy of sewing as you stitch together a personalized pillowcase. Don’t be afraid to experiment with different fabrics, patterns, and decorative elements. Your sewing journey awaits, and a beautiful pillowcase is just a few stitches away. Happy sewing!
Related Posts:
- Looking for a great sewing machine that won’t break the budget? Check out these budget friendly sewing machines!
- Want to be able to embroider or monogram your decorative pillows? Check out these great embroidery and monogramming machines!
- Want a great beginner sewing machine? Check out the best beginner sewing machines!
