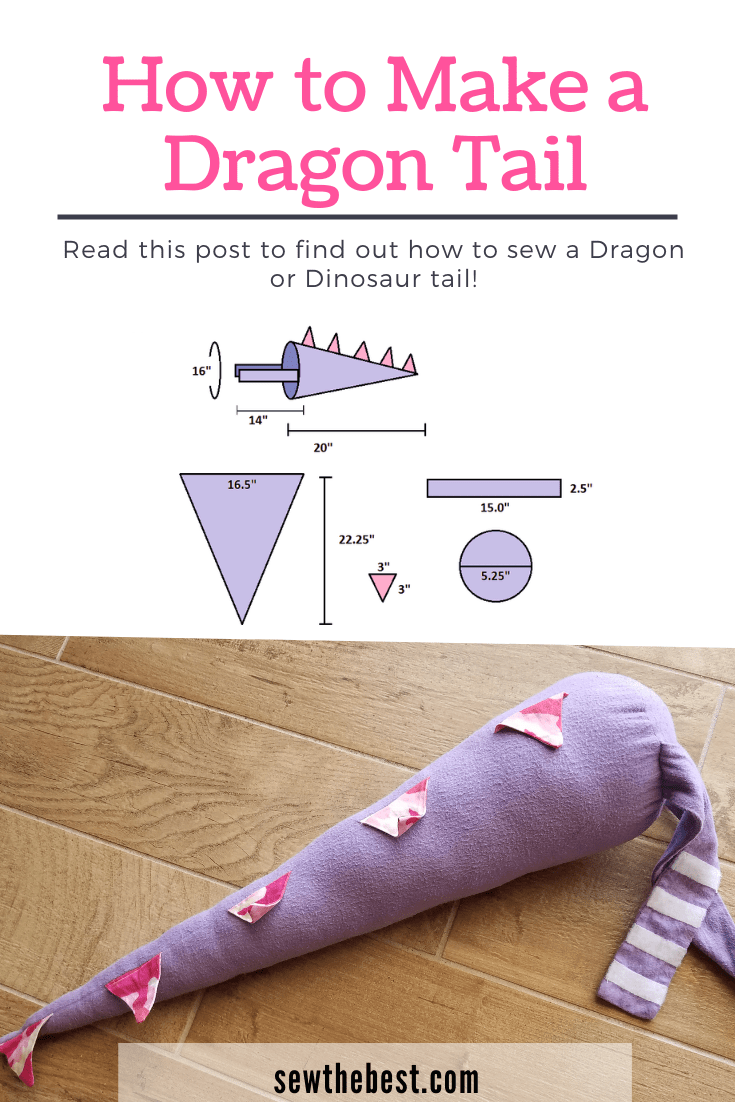
I made a stuffed dragon tail for the girl child this week. It came out really cute for not having a pattern to work with, just a picture off of Pinterest (You can see the original here).
So, to be nice I’ve decided to share with you guys my pattern for a stuffed dragon tail and instructions for how I made it. This way you too can have a child dancing around you asking ‘Is it done yet?!?!’
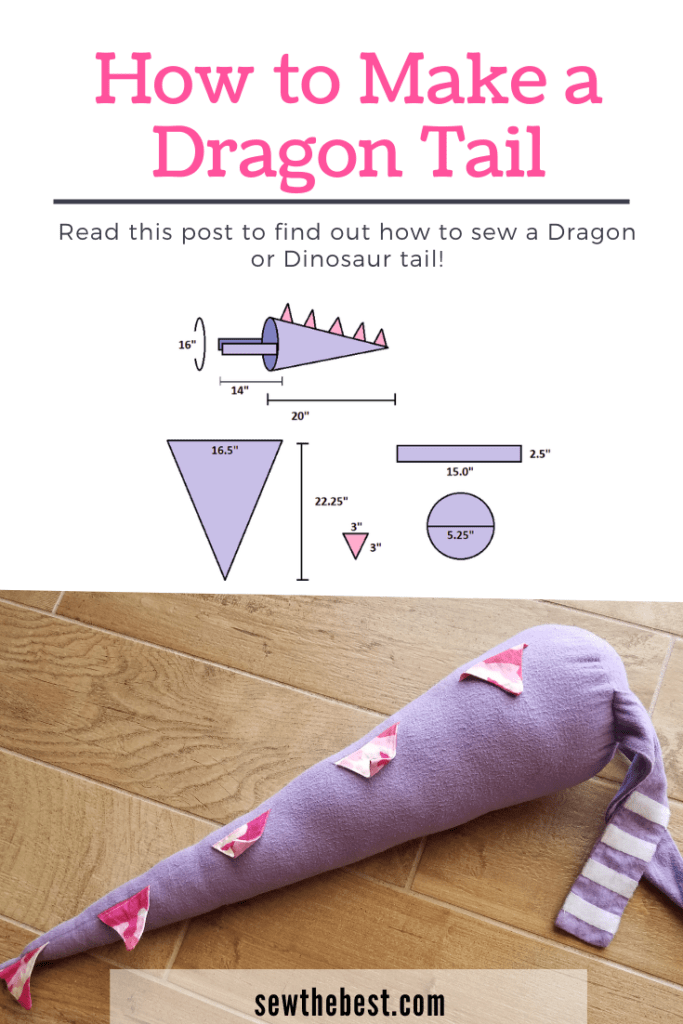
Supplies to make a stuffed dragon tail
First, gather your supplies. The stuffed dragon tail takes just under half a yard of fabric #1 (the bulk of the tail), and maybe 3 ” x 16″ strip from fabric #2 (the spines). It also needs about about 10″ of .5″ wide velcro for attaching the belt pieces. The tail is stuffed with about a bag of Polyfil. Here’s the pattern that I designed for this project.
- Polyfil to stuff the dragon’s tail
- 10 ” of .5″ wide velcro
- half a yard of fabric – I used cotton flannel
- 3″ x 16″ strip of contrasting fabric for the spikes
- matching thread
- basic sewing materials
How to make a stuffed dragon tail
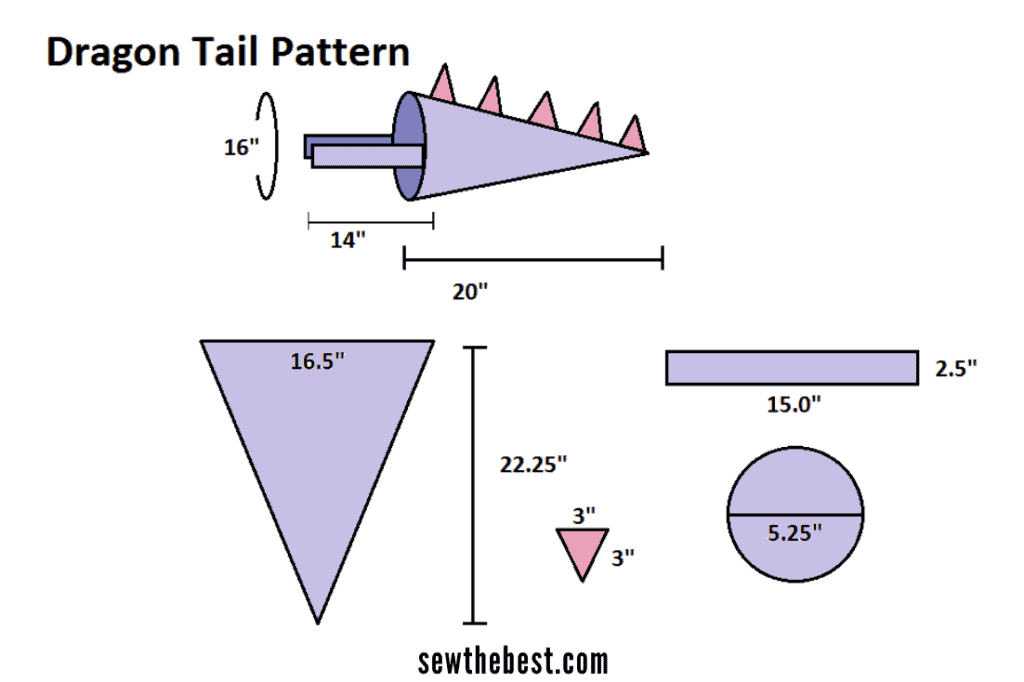
You can see a mockup of what the tail looks like in the pattern, and the four body pieces that are needed to make this. This pattern will handle up to about a 30″ waist on your child.
To start, cut out all of your pieces. You need one big triangle, one circle, and 4 of the rectangles. You will also need two of the little triangle per spike. The pieces should end up something like this:
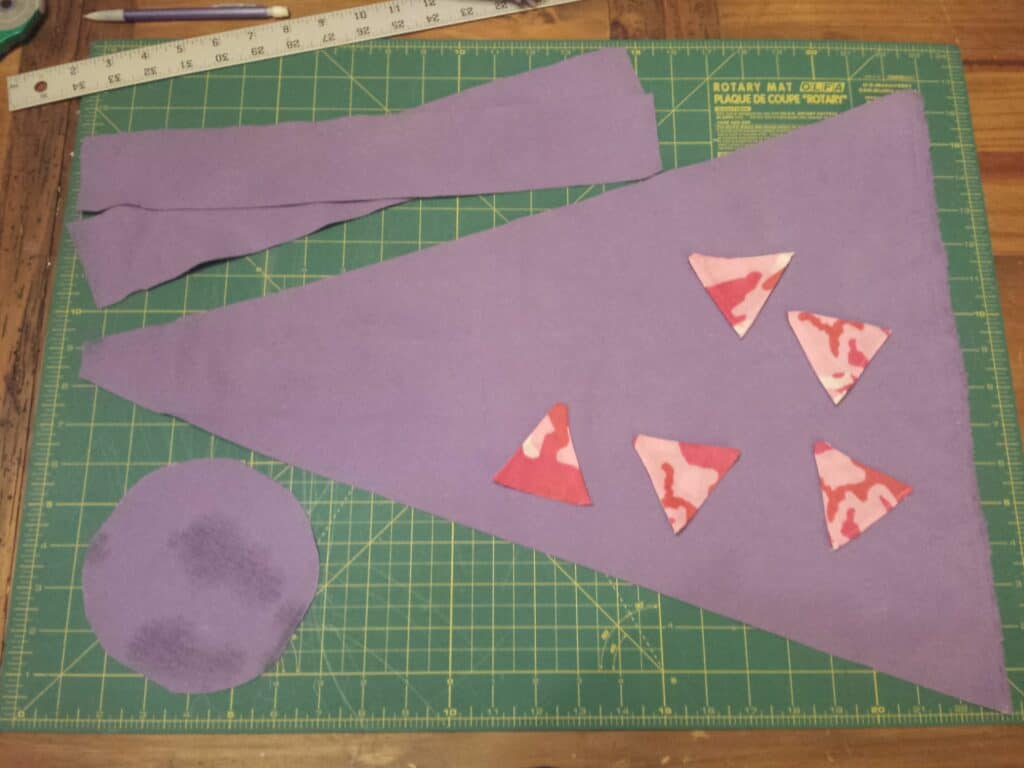
Second, iron all of your fabric so that it lays nice and flat. Excuse the blotchy parts on the circle, my iron got a bit enthusiastic with the steam.

Next, pin your little triangles together fronts facing. You will want to sew around the outside of two sides of the little triangle, leaving the bottom open. Clip the top of the triangle. Then flip the triangle inside out. Iron each little triangle nice and flat.
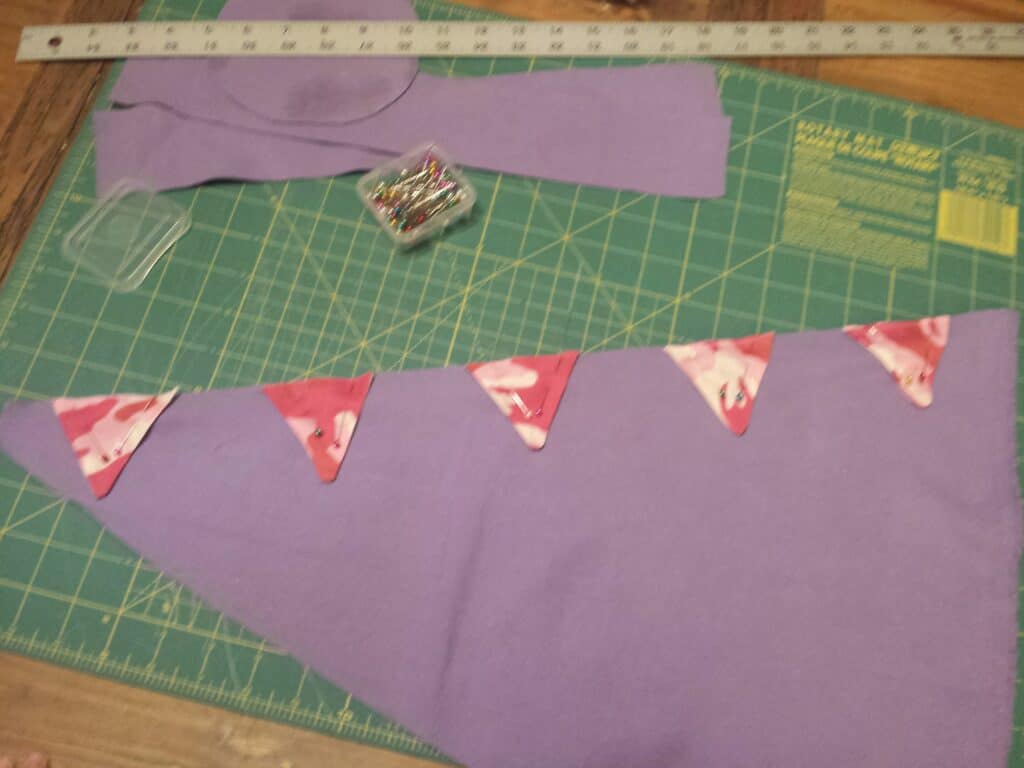
For laying out the spikes, I just eyeballed it and went with what looked good to me. Pin those suckers down where you want them. Then do a straight seam along the edge of the triangle to hold them in place. It should end up looking like this:
After your spikes are nicely in place, it’s time to get the belt together. You will need two strips of the ‘hook’ side of the velcro at 2.5″ tall (tall enough to cross the belt strip), and four pieces of the ‘fluffy’ side of the velcro, again at 2.5″. This is so you can make the belt a bit big for your child to grow into. Because nothing sucks so much as making a toy they love – and having them outgrow it in a month.
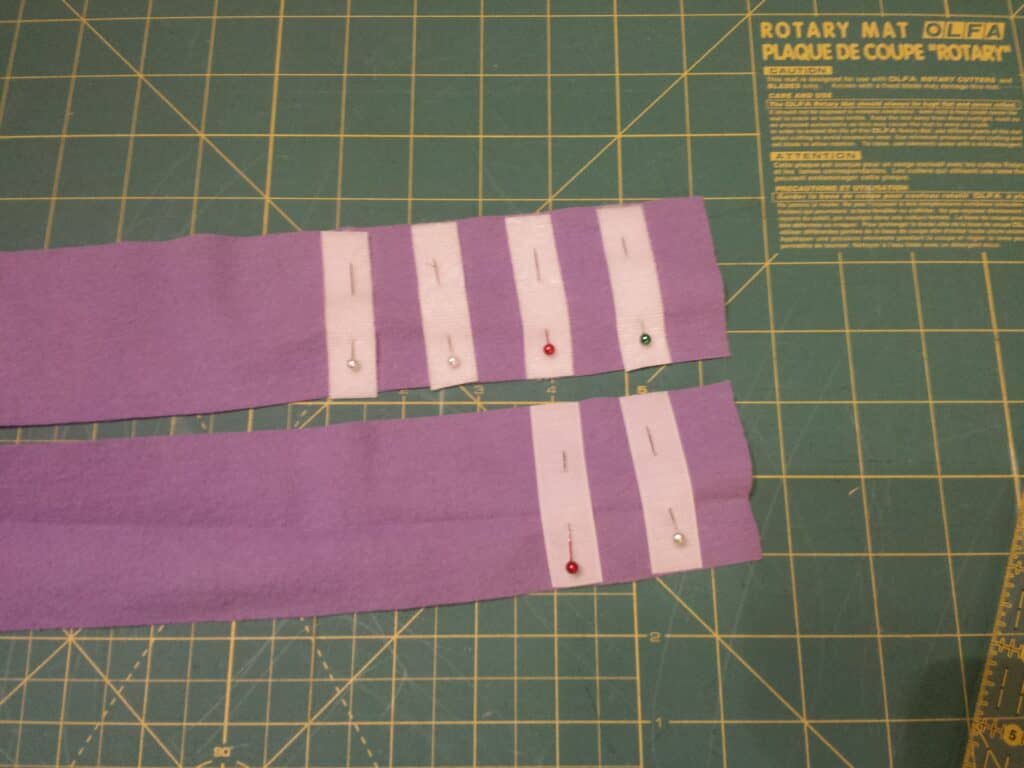
Pin one of the hooky velcro strips about .75″ from the end of one of the skinny rectangle belt bits, and another one .5″ from that.
Pin one of the fluffy velcro strips about .75″ from the end of a different skinny rectangle belt bit, with the other 3 pieces spaced out .5″ from that.
It should end up looking like this:
Next you sew the velcro pieces down. At this point you’ll have two belt pieces with velcro and two without. Take one of the pieces with velcro and one of the pieces without and sew them together so that the velcro is on the ‘inside’. Make sure you leave the skinny side without the velcro open. After you’re done sewing the two pieces together, clip the corners and turn it right side out. Repeat with the other two belt pieces.
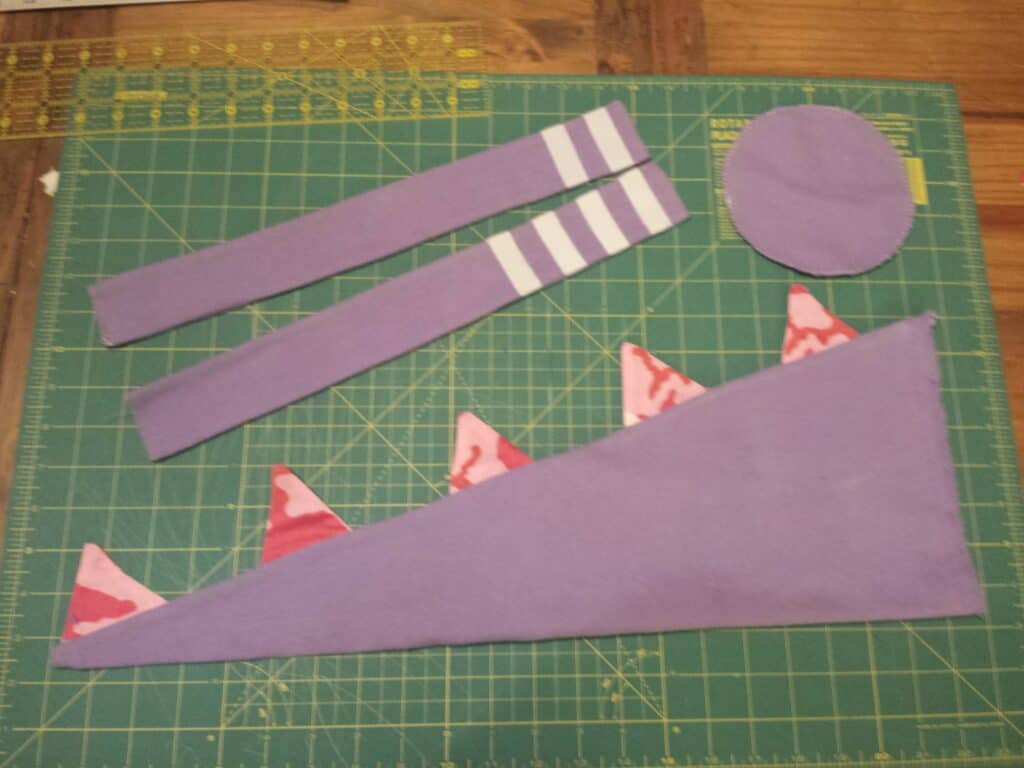
Next, take your triangle and fold it in half with the spikes on the inside. You’ll be sewing it together along the long side. Just be sure that any spikes at the tip of the tail are not caught up when you sew it together.
At this point, your stuffed dragon tail should look like this:
This is where your child starts to get really excited. Suddenly they can visualize the tail so much better. You might have to fight them off to finish the project. 🙂
Speaking of, this is where you get your child’s waist measurement. You’re going to be attaching the two belt pieces to the circle and need to know how big you need it to be. This piece should measure the length of your child’s waist when you measure from the inner most pieces. This way there should be plenty of leftover length for your child to grow into. In my case, girl child’s waist was 23″ and the final circle + waist straps length was 30″.
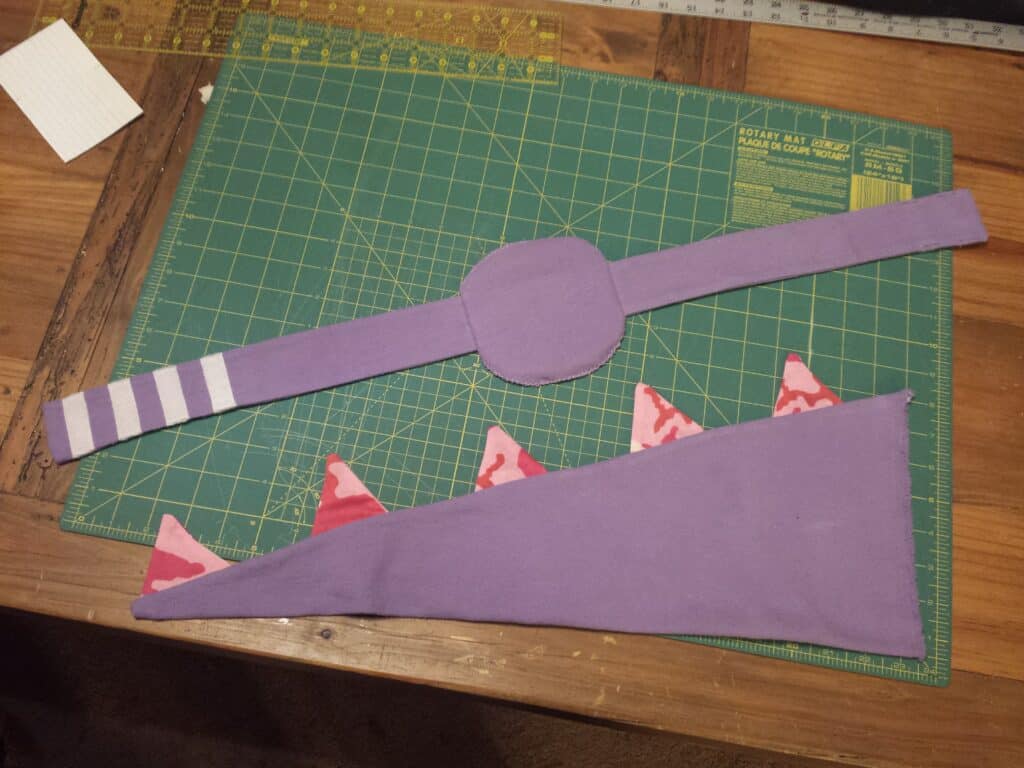
Next, flip the tail inside out. Take the circle you just attached the waist straps to and start pinning it to your tail. I recommend folding the circle in half, with the two waist straps together then pinning that to the top of the tail to ensure that it’s all straight once you get it together. Stuff the straps inside the tail as you pin it. Leave about 2″ open at the bottom so that you can turn the tail right side out and stuff it. Sew this all together.
After that you flip the tail right side out and start stuffing it. Make sure to do a fairly firm job – the stuffing will compact as it gets abused.
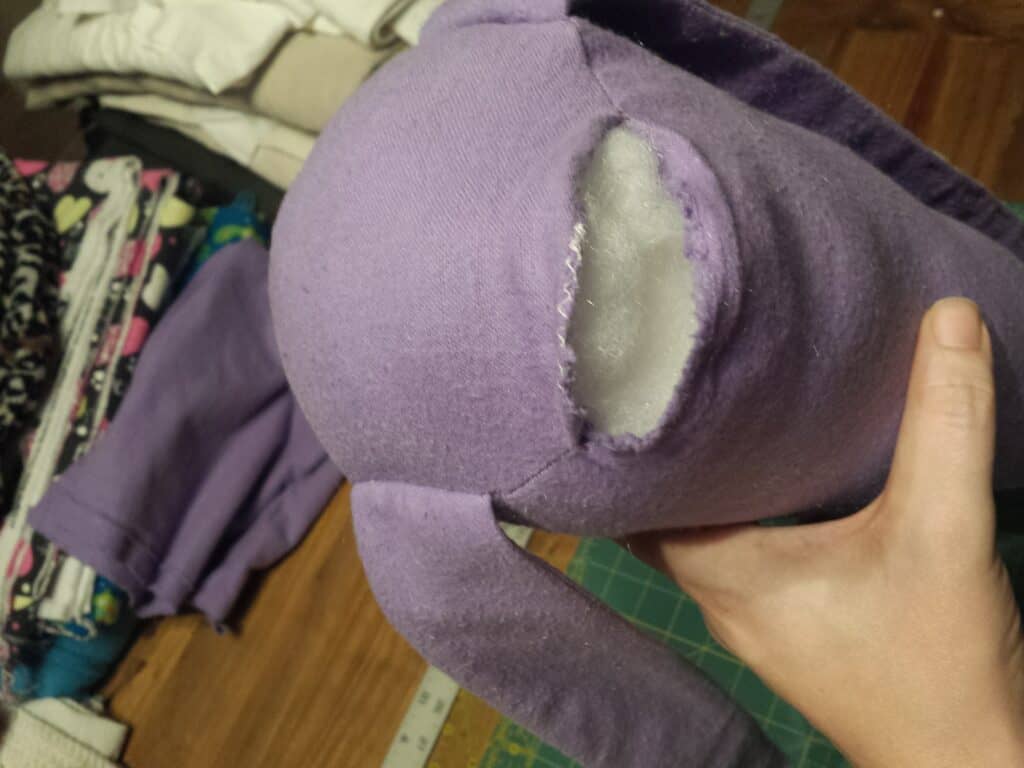
Finally you just need to sew up the opening you used to stuff the tail. Then take some cute pictures of your child in their new, stuffed dragon tail.

Update:
I first made this tail in 2017. Since that time, this tail has been well worn and is still being used today for games of “dragon”. At this point, I think I need to make more tails so each kid can have one.
Related posts
- Looking for a new sewing machine? Check out the best sewing machines under 200
- Advanced sewer looking for a new sewing machine? Check out the best sewing machines for advanced sewers
